Recording a Tutorial with Easy Screen Recorder: From First Click to Finished Video
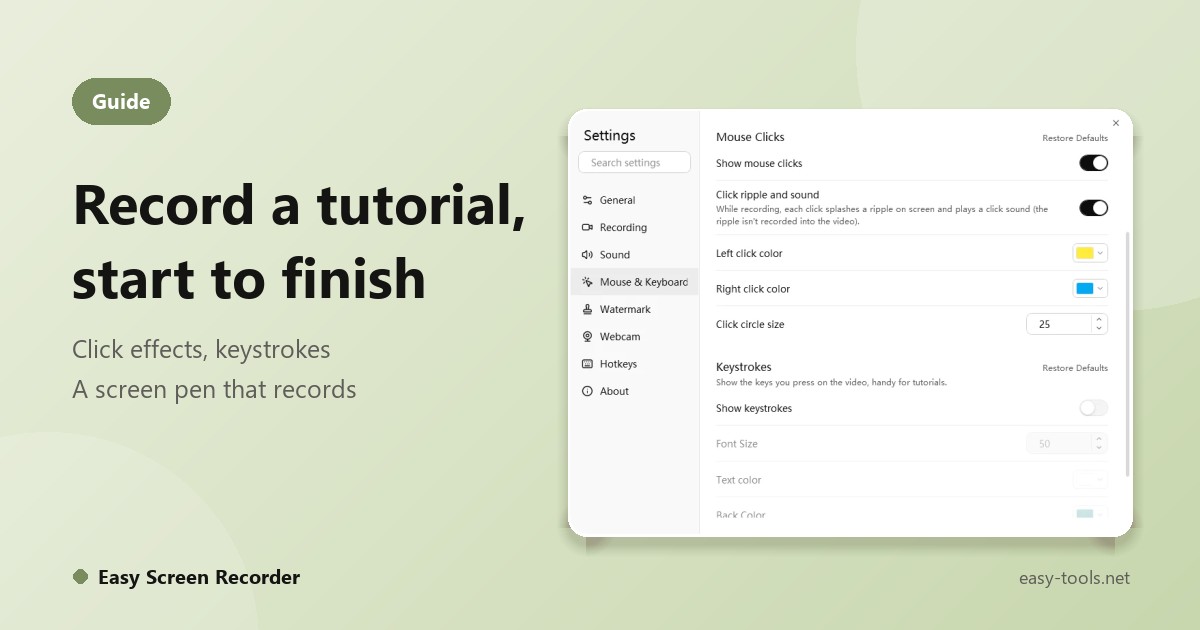
Recording a how-to video sounds simple: press record, do the thing, press stop. In practice you finish and find there is no audio, viewers cannot tell where you clicked, you wanted to circle something halfway through and could not, and you still need another program to trim the start and end. This walkthrough follows the order of a real session in Easy Screen Recorder: set up, record, finish.
Before you record: three settings
1. Pick the right area
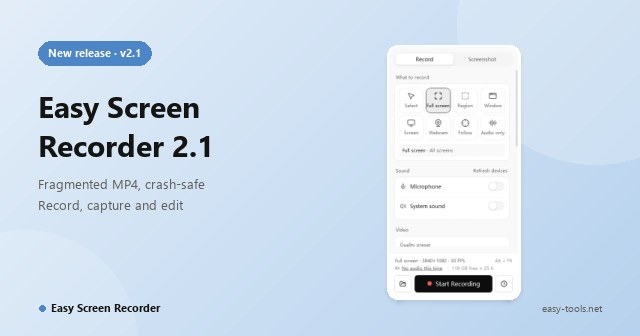
For tutorials, Region or Window usually works best: you record only what you are talking about, the picture is more focused and the file is smaller. The app offers full screen, region, window, a single screen, webcam, follow-the-mouse and audio only.
2. Turn on sound and check it
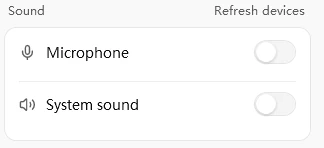
Switch on Microphone to narrate and System sound to capture the sounds your software makes. You can record both at once. While the main window is idle the levels are shown live, so you can test before you start. After plugging in a new microphone or headset, click Refresh devices.
3. Choose quality and size
There are HD, Standard and Smooth presets, or you can set your own frame rate and quality. Under Region, Common sizes include 1920 x 1080, 1280 x 720, 1080 x 1920 for vertical video and 1080 x 1080 for square. A summary line at the bottom of the window shows the area, size, frame rate, sound and an estimate of how long you can record.
While recording: help viewers follow
Mouse clicks and keystrokes
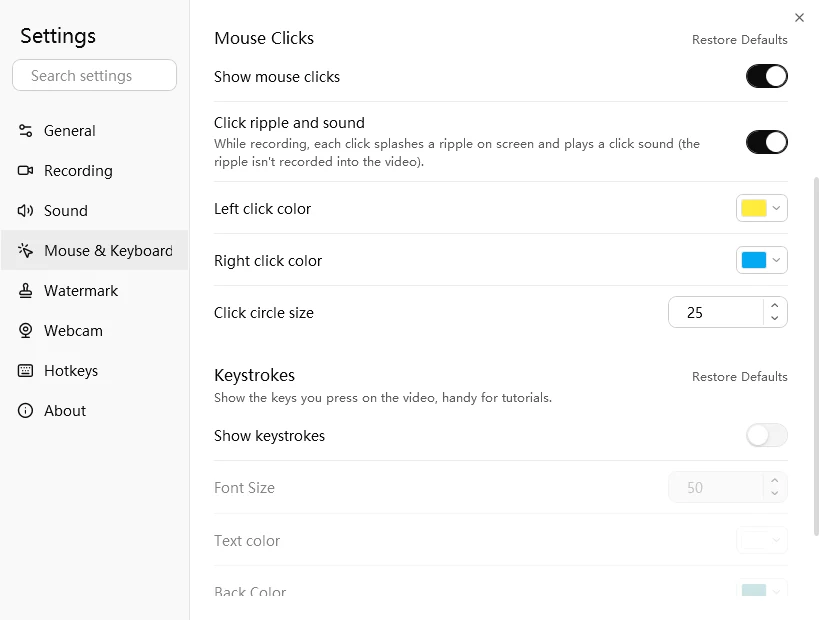
In a tutorial, viewers most want to know where you clicked and which keys you pressed. Under Settings, Mouse & Keyboard, turn on Show mouse clicks and Show keystrokes. Left and right clicks get their own colors, and the keys you press appear on the video.
Screen pen: circle things as you talk
Press Ctrl + Shift + D while recording to draw on the screen, and press Esc to leave the pen. What you draw is part of the recording. Besides pen and highlighter there are chalk, marker and brush, 14 colors and three line weights. With system sound on, the chalk's writing sound is recorded too.
A floating control bar that is not recorded
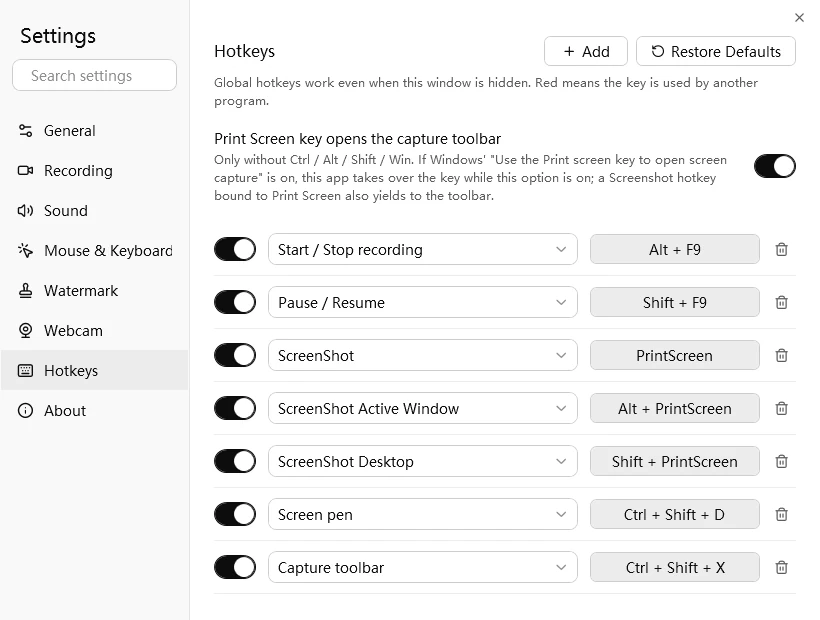
During recording a small bar shows the timer, pause and stop, and it never appears in the video. Alt + F9 starts and stops, Shift + F9 pauses. Hotkeys can be changed, and a red key in Settings means another program already uses it.
On camera? Add a webcam picture-in-picture
Under Settings, Webcam, choose your camera, its position, size and opacity, and it is overlaid on the screen recording. You can also add a text or image watermark so your branding travels with the video.
After recording: no extra software
When you stop, a notification offers Play, Trim, Copy file and Open folder. FFmpeg is installed with the app, so these tools work with nothing else to download:
- Trim the start and end. Fast mode does not re-encode; Precise mode cuts exactly.
- Convert to GIF for documents and chat. Clips under 30 seconds work best.
- Compress video when the file is too big to send.
- Extract audio to save the narration as an MP3.
Every recording is listed in Recent, with filters for videos, images and audio, so last week's demo is easy to find.
A checklist you can follow
- Close unrelated windows and turn off notifications.
- Choose Region or Window, switch on the microphone and check the level.
- Turn on Show mouse clicks and Show keystrokes.
- Pick 1080p or 720p and read the summary line.
- Press Alt + F9 to start; press Ctrl + Shift + D when you need the pen.
- When finished, trim the ends, then make a GIF or compress if needed.
More on the Easy Screen Recorder page. Videos recorded during the 15-day trial carry no watermark, so you can download it and try.