One Set of Photos, Many Platforms: Choose the Canvas Size First, Then Collage
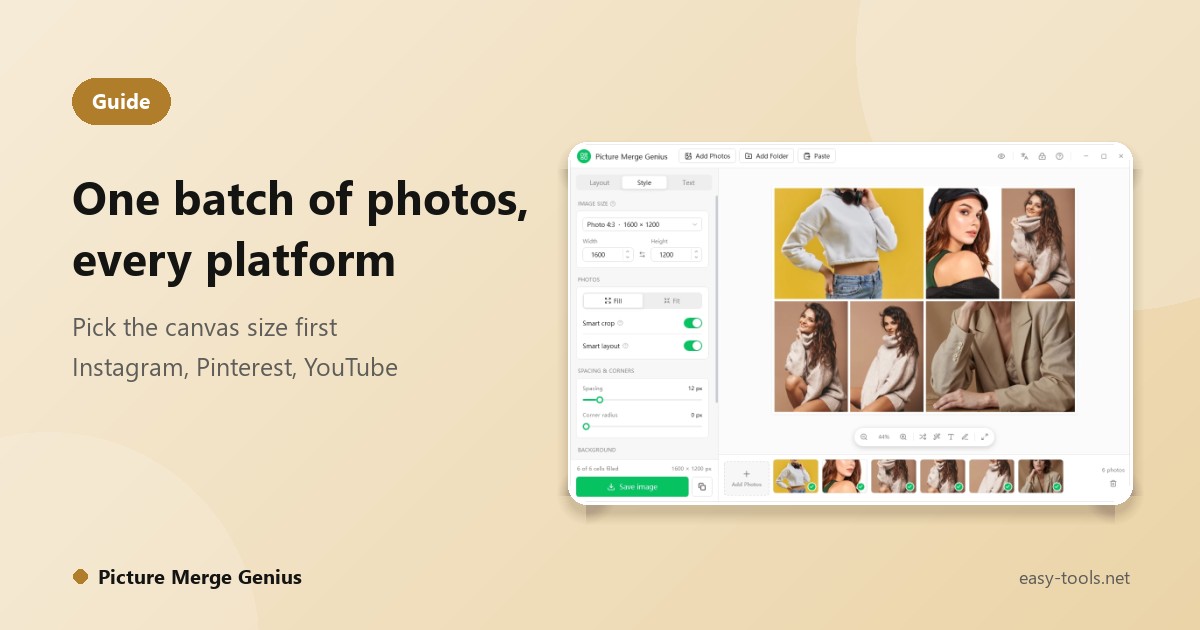
You have one set of photos and several places to post them: Instagram, Pinterest, Facebook, a YouTube thumbnail. Each wants a different shape. You build one collage, post it, and find the platform cropped out half a face. Then you start over for the next one. A better order is to do it the other way round: choose the canvas size first, then build the collage. Here is how that works in Picture Merge Genius.
Why pick the size first
If you collage first and crop later, every new platform means redoing the layout and re-framing each photo. If you choose the target size up front, the layout is built for that shape from the start, and the framing of each photo is already right for it. Nothing gets "second-cropped" after you publish.
Sizes built into the app
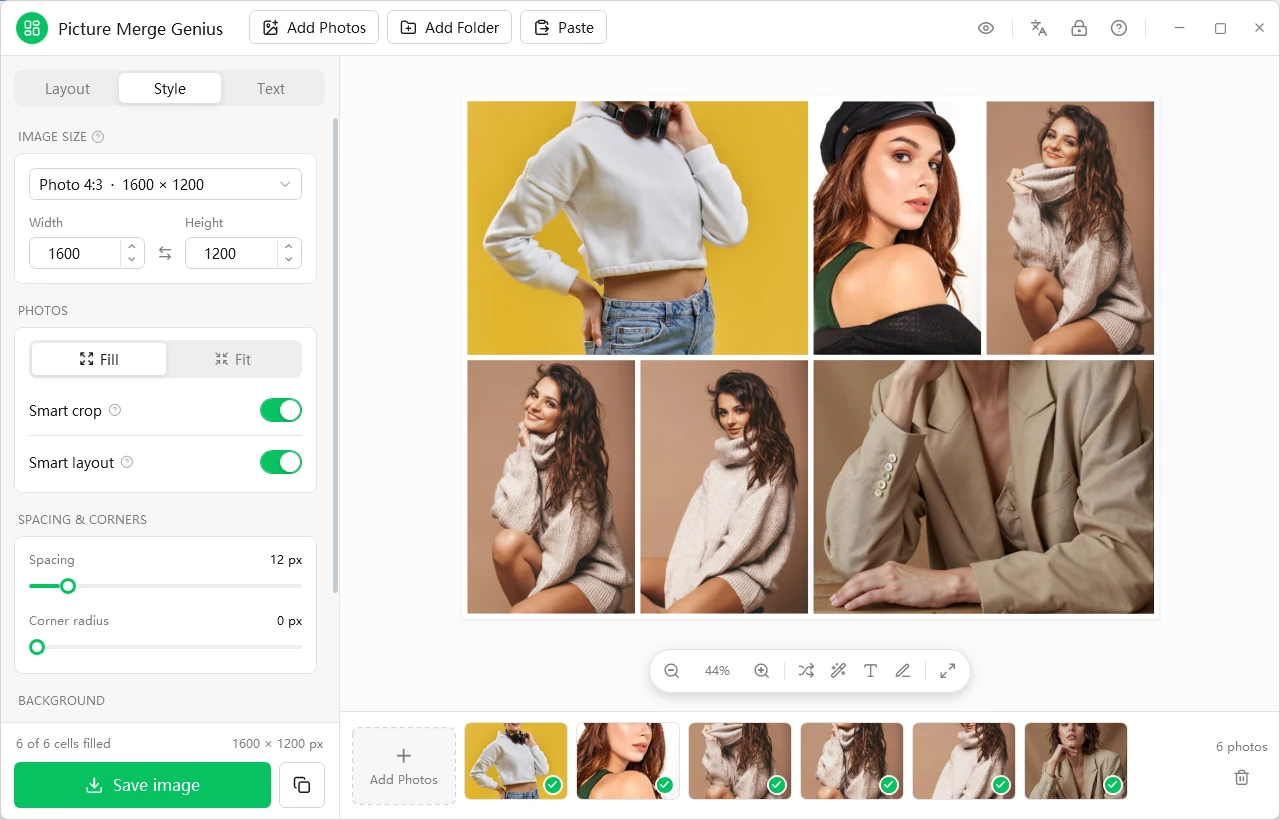
On the Style tab, the Image size list has ready-made presets:
| Group | Presets |
|---|---|
| Social media | Instagram post 1:1 and portrait 4:5, Story and Reels 9:16, Facebook cover and post, X (Twitter) post 16:9 and header 3:1, YouTube thumbnail, Pinterest pin 2:3, LinkedIn post |
| General | Square 1:1, A4 page, 2K wallpaper |
| Custom | Type a width and height in pixels; the swap button flips the two values |
Platform names are used only to describe where each canvas size fits. Trademarks belong to their owners.
An example: one trip, three platforms
Step 1: drop in the photos
Drag a whole folder onto the window, or click Add Folder. JPG, PNG, BMP, GIF, TIFF, WebP and HEIC are supported, and each photo's orientation is read automatically.
Step 2: choose the target size
Start with Pinterest: set the image size to the 2:3 pin. The canvas turns tall right away, and the status bar shows how many cells are filled and the output size in pixels.
Step 3: pick a layout and let the smart features help
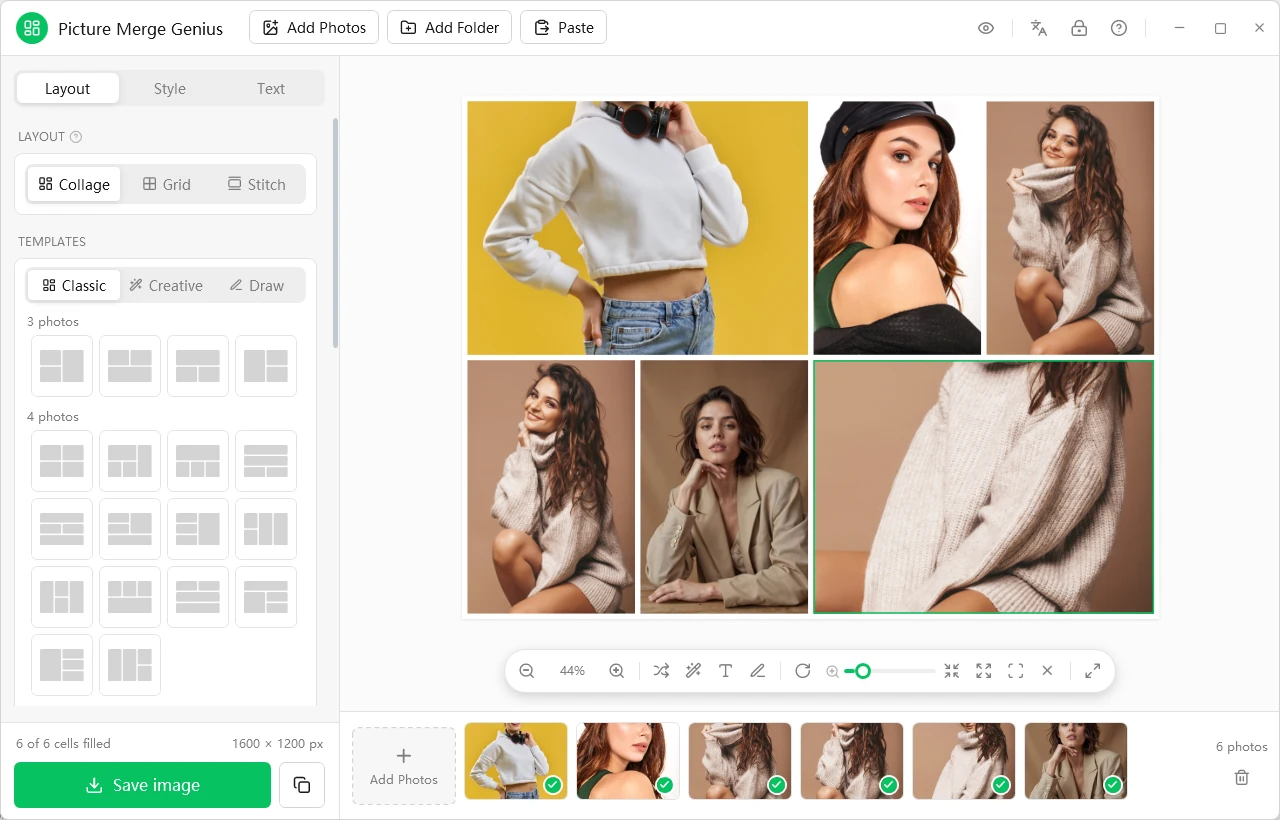
Choose a merge mode and layout on the Layout tab. With Smart layout and Smart crop switched on, portrait photos go into tall cells, landscape photos into wide ones, and when a crop is unavoidable the app keeps the most detailed part of the picture rather than always cutting around the center.
Step 4: fine-tune
- Drag a photo inside its cell to reframe it.
- Drag one photo onto another to swap them.
- Fill crops each photo to cover its cell; Fit keeps the whole photo.
- Spacing and corner radius sliders set the style, and the background color shows through the gaps.
Step 5: save, then change the size
Click Save image and choose a format. Then switch the image size to an Instagram post or a Story, and save again. The layout and photos carry over, so you do not start from scratch.
One line of text makes a cover
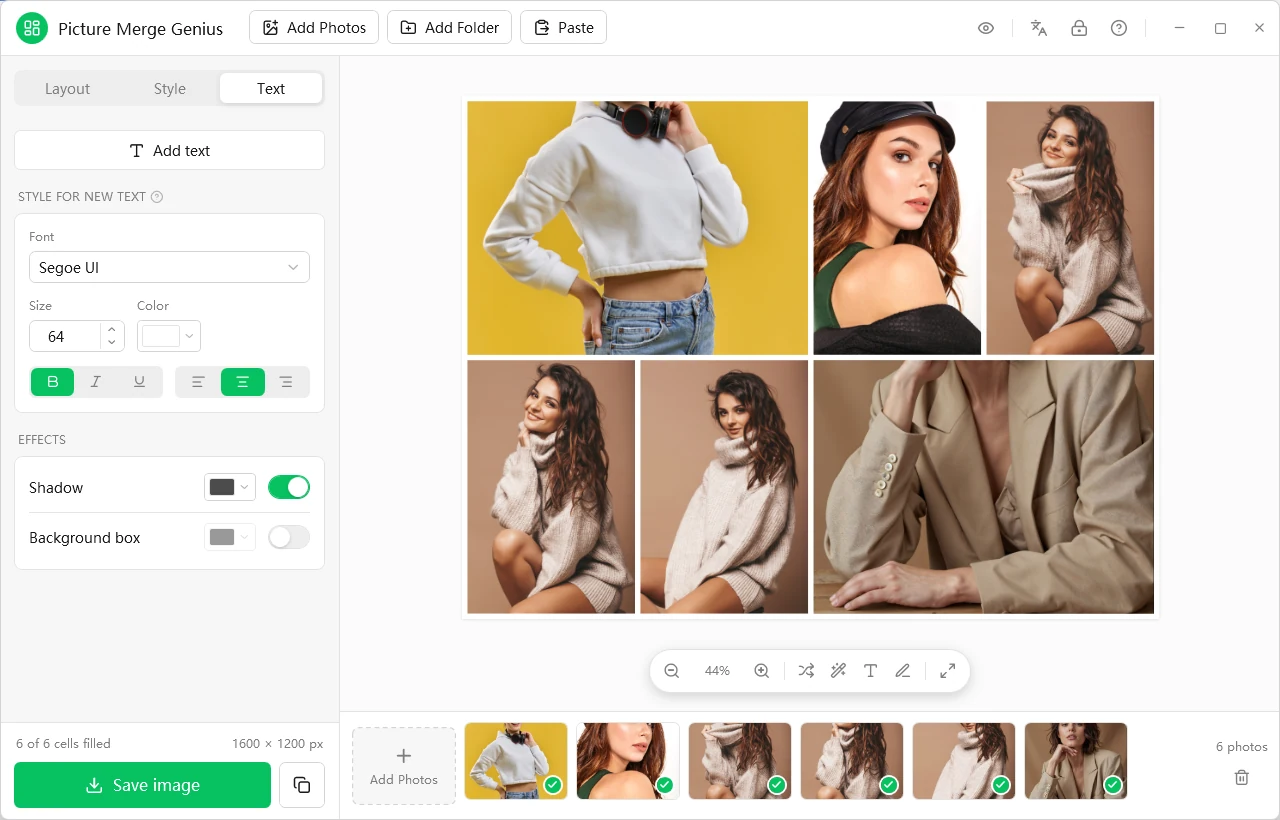
On the Text tab, click Add text, type a title and choose font, size, color and alignment. A shadow or a background box keeps it readable over any photo.
Collage, Grid or Stitch?
- Stitch when you want chat threads or screenshots joined as they are, with no cropping.
- Grid for neat rows and columns, such as product comparisons or a uniform gallery.
- Collage when you want a designed look, with Classic or Creative layouts.
Everything is processed on your PC. Nothing is uploaded and there is no account, so it suits client material and unreleased images. Download the free trial, or read more about Picture Merge Genius.