How to Make a Photo Collage on a PC: Layouts, Canvas Size and Smart Cropping, Offline
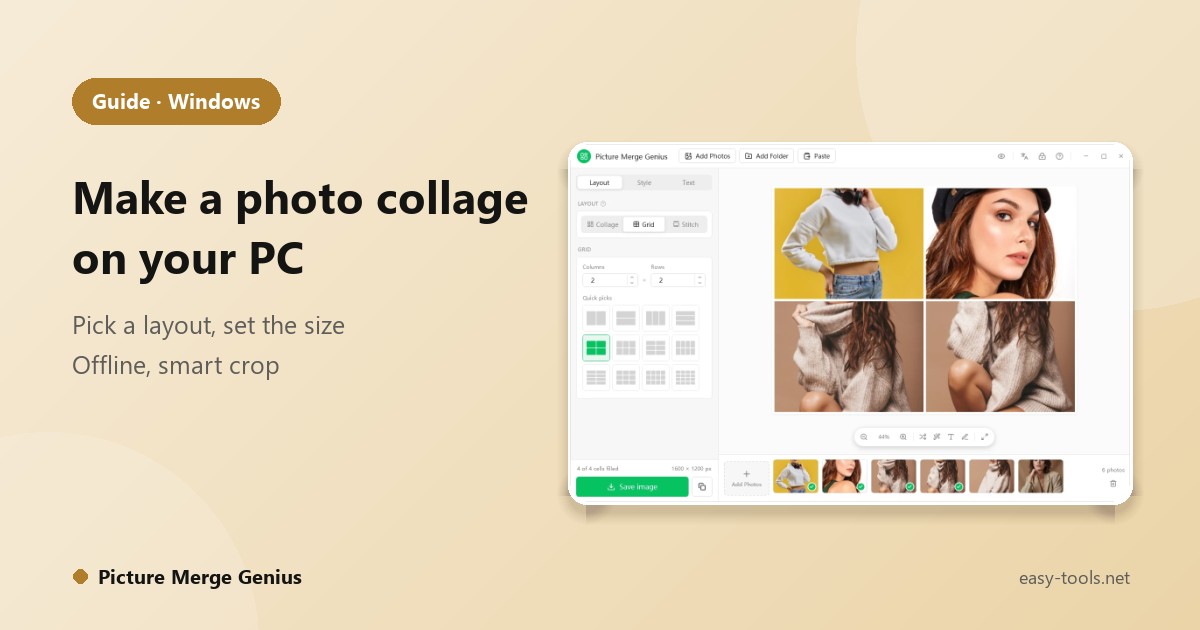
A photo collage puts several pictures into one, whether it is a birthday post, a travel recap, a product set or a gift. Phones are full of collage apps, but on a Windows PC the choices are less obvious. Here is how to make a photo collage on a PC, offline, with your own layout and size.
What to decide before you start
- Where it will be used. A square Instagram post, a landscape YouTube thumbnail and a 4 x 6 print need different canvas sizes. Pick the canvas first.
- How many photos. Four to nine photos work well on a social post; more than that gets crowded at phone size.
- Collage or grid. A collage mixes cell shapes; a grid uses equal cells and looks tidy for product sets and before-and-after rows.
Why not Photos or Paint?
The Windows Photos app and Paint are built for viewing and basic edits, not for laying out several pictures on a canvas. You can paste photos into Paint by hand, but spacing, cropping and sizes are all manual and every change means starting the layout again.
Make a collage with Picture Merge Genius
Picture Merge Genius is a Windows collage maker that works offline: your photos are never uploaded.
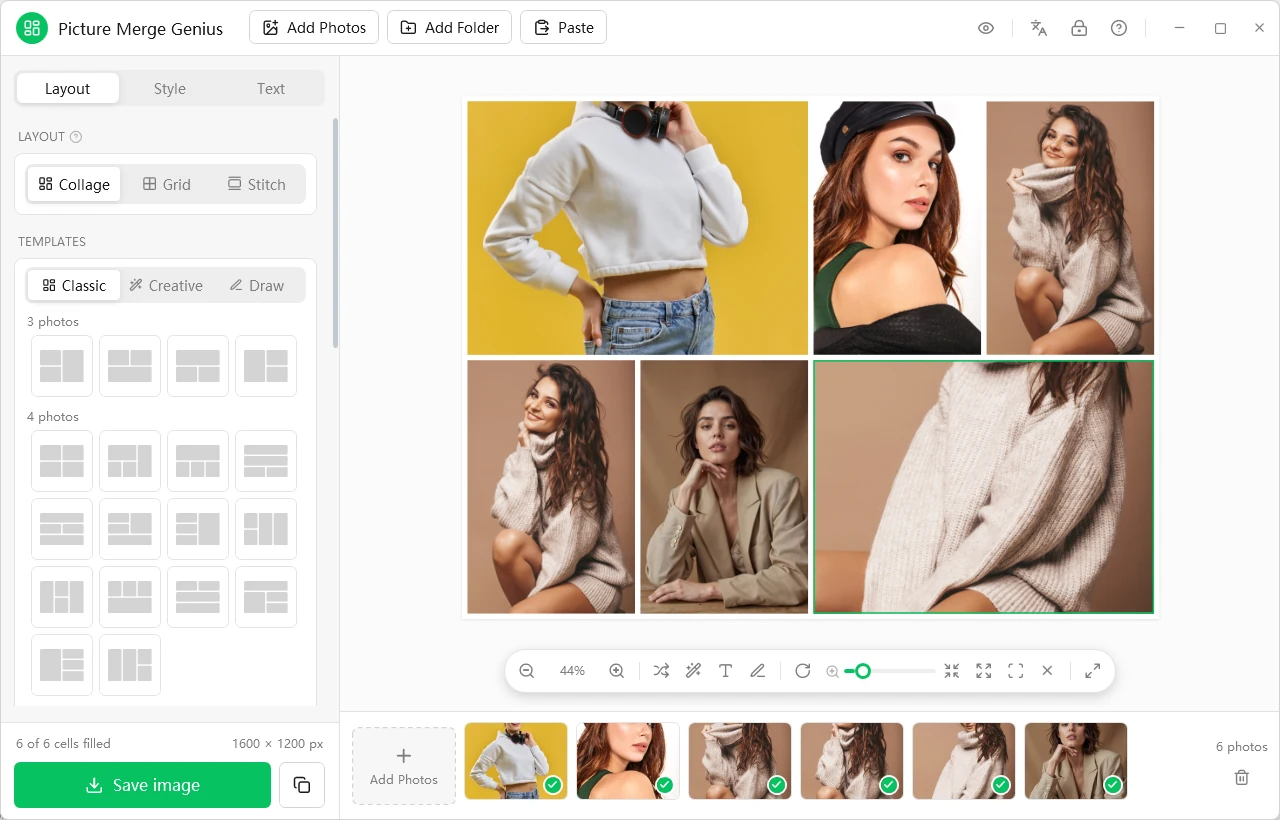
- Add your photos. Drag them in; JPG, PNG, BMP, GIF, TIFF, WebP and HEIC open, so iPhone photos work too.
- Choose Collage. Pick from dozens of layouts, including slanted splits, circles, hearts, hexagons, stars, polaroid cards and film strips. Or draw your own: split the canvas with lines, add circles, boxes and triangles, and save it as a template.
- Set the canvas size. Start from a social-media preset (Instagram, Facebook, X, YouTube, Pinterest, LinkedIn) or type a custom width and height.
- Let it place the photos. Smart layout sends portrait photos to tall cells, smart arrange picks the layout that needs the least cropping, and smart crop keeps the subject in view.
- Finish the look. Adjust spacing, rounded corners, shadows and background colour, and add text.
- Save as JPG, PNG, BMP, TIFF or GIF, or copy it to the clipboard to paste straight into a message.
Tips for a better collage
- Choose photos with a similar mood or colour so the whole looks planned.
- Keep one strong hero photo and let the others support it; a layout with one larger cell does this for you.
- Leave a little spacing between photos; it reads as cleaner than touching edges.
- Need one very tall picture instead, for example a series of screenshots? Use Stitch mode, which joins whole photos end to end without cropping.
More about sizes in one set of photos, many platforms, and about joining photos in combining multiple photos into one picture. On Android, the free PicQuilt does collages on the phone.